
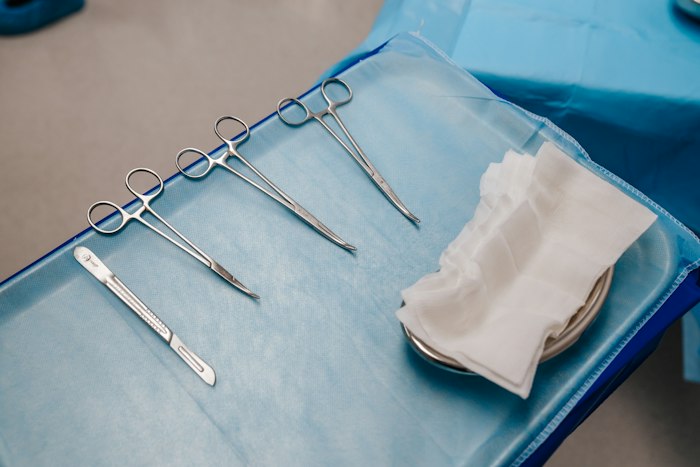
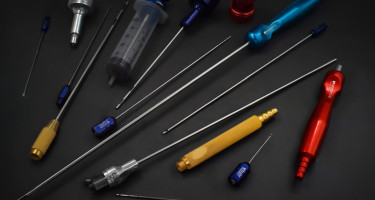

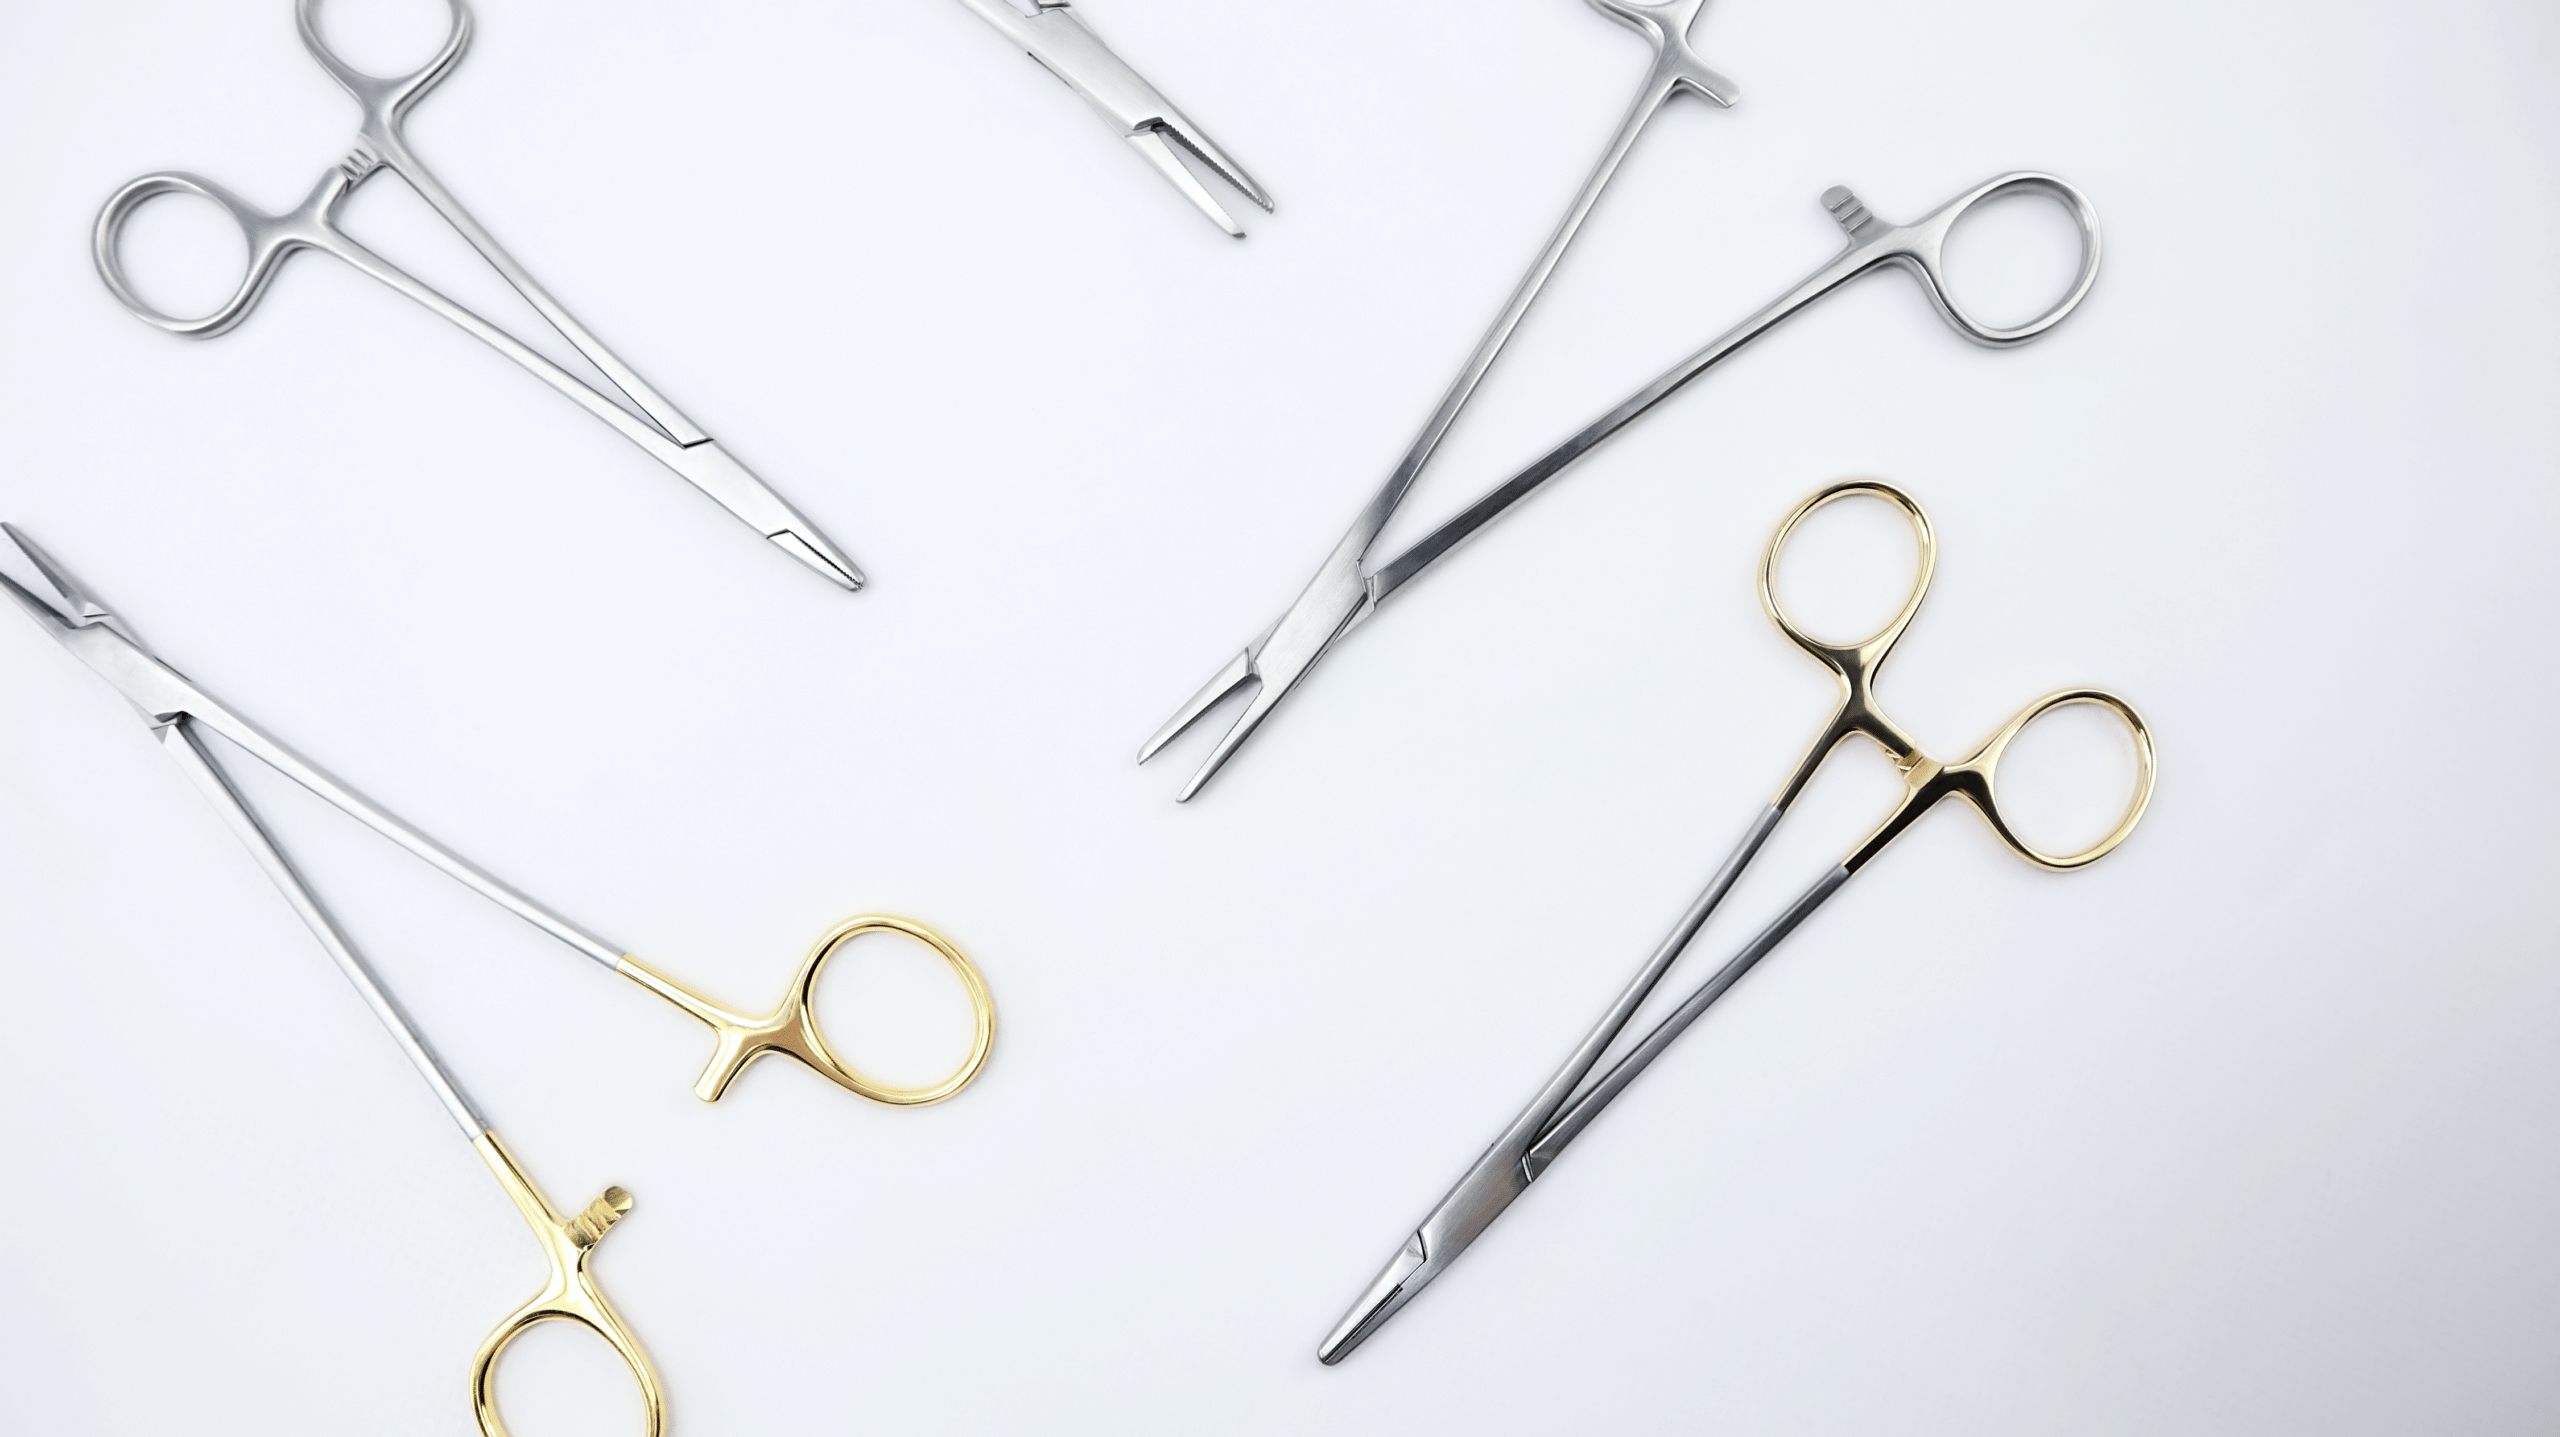
Instruments rarely fail because the steel was wrong. Instead, they fail because of what happens between one case and the next. Staining, pitting, stiff joints and dull edges are almost always reprocessing problems, and you can avoid nearly all of them. This practical guide to cleaning surgical instruments shows you how to keep a set in service for years.
The first ten minutes matter most
Blood, saline and tissue debris are corrosive. Moreover, they become far harder to remove once they dry. So, as soon as a case finishes:
- Wipe off gross soil with a damp lint-free cloth, not a dry one.
- Open every ratchet and every box joint. If you clean an instrument closed, the debris stays exactly where it does the most damage.
- Keep instruments moist until cleaning. For example, use a covered tray with a damp towel or an enzymatic pre-treatment foam. Never soak them in saline.
Saline is the most common cause of pitting on an otherwise sound instrument. If you need a soak, use a neutral-pH enzymatic detergent instead.
Cleaning surgical instruments by hand and by ultrasound
Clean by hand first and by ultrasound second. Brush hinges, serrations and box joints under the water with a soft nylon brush. Brushing above the surface, by contrast, sprays contaminated water into the air.
Never use steel wool, scouring pads or abrasive powders. They strip the thin chromium-oxide layer that keeps stainless steel stainless. As a result, every scratch becomes a new corrosion site.
For ultrasonic cleaning, follow these rules:
- Load instruments open, fully under the solution, and never stacked or overlapping.
- Do not mix stainless steel with other metals in the same load, because galvanic action stains both.
- Change the solution when it looks dirty, and degas fresh solution before use.
- Rinse thoroughly afterwards. Otherwise, detergent residue bakes on in the autoclave as a brown film.
Water quality when cleaning surgical instruments
Most staining that people blame on instruments actually comes from water chemistry. Tap water leaves mineral deposits that show up as brown or bluish marks after steam sterilization. Therefore, use deionised or distilled water for the final rinse and for the autoclave reservoir.
If you already see spotting, it is deposit rather than corrosion. However, deposit traps moisture, so it eventually causes corrosion underneath.
Drying, inspection and lubrication
Dry every instrument completely. In particular, check box joints and hollow handles, where water collects. Then inspect each one before it goes back into a set:
- Scissors: cut a single layer of gauze at the tip. If it folds rather than cuts, the pair needs sharpening.
- Needle holders: close on a needle of the right gauge and try to turn it. Any rotation means the jaws are worn.
- Ratchets: close to the first stop and tap the shanks. The ratchet should hold.
- Joints: check for sideways play and for stiffness.
- Surfaces: look for pitting, cracks at the box joint and lifted tungsten carbide inserts.
Next, lubricate every hinged instrument with a steam-permeable instrument milk before each sterilization cycle. Do not use mineral oil, WD-40 or silicone spray. These do not let steam through, so they shield the joint from the sterilant.
Autoclaving after cleaning surgical instruments
- Load instruments open and unlocked. A locked ratchet holds the jaws under tension at high heat. That is how jaws distort and box joints crack.
- Do not overload. Steam must reach every surface, and a packed tray does not sterilize reliably.
- Use stringers or racks rather than piling instruments loose.
- Protect delicate tips with steam-permeable tip guards.
- Let the load dry and cool inside the chamber. If you remove a hot, damp load, condensation forms, and it stains cooling steel.
Typical cycles run at 134 °C for 3–4 minutes or 121 °C for 15–20 minutes with pre-vacuum. Even so, always follow your own institution’s validated protocol and your autoclave maker’s instructions, which take priority over any general guide. For background on how steam sterilizers work, see the autoclave article on Wikipedia.
Storage
Store instruments dry, in a low-humidity cupboard, with scissors and needle holders open. Do not leave instruments in sterilization wrap in a damp room, because the wrap holds moisture against the steel. Also keep new instruments apart from old ones for their first few cycles. The protective passive layer takes time to mature, and a new instrument stacked against a worn one can pick up transferred metal.
How to read the stains
- Brown or orange film that wipes off: mineral or detergent deposit. Fix the water and rinse better.
- Blue or rainbow tint: the oxide layer thickens after many cycles. This is cosmetic and harmless.
- Black spots: usually acid attack from detergent residue at high heat.
- Pinpoint pitting that does not wipe off: chloride corrosion, almost always from saline. The instrument is compromised, so retire it.
- Rust on one instrument only: often transferred from a genuinely rusting item elsewhere in the load. Find that item and remove it.
Frequently asked questions
What is the best way of cleaning surgical instruments?
Wipe and open them straight after use, keep them moist, and clean them by hand and then by ultrasound. Finally, rinse in distilled water, dry, inspect and lubricate before autoclaving.
Why do my stainless steel instruments rust?
The usual causes are saline soaks, chloride or bleach cleaners, tap-water deposits and abrasive scrubbing. Each one attacks the protective layer on the steel.
Should I autoclave instruments open or closed?
Always open and unlocked. A closed ratchet under heat stresses the jaws and can crack the box joint.
Followed consistently, this routine is the difference between a set that lasts three years and one that lasts fifteen. For care tips on specific instruments, read our guides to tungsten carbide instruments and microsurgical instruments. When instruments do reach the end of their life, browse our plastic surgery instruments or send us your list for a quote.